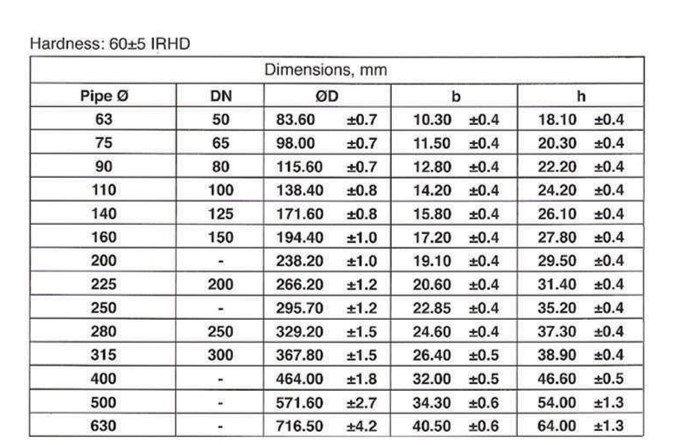
Sizes & Dimension
Jointing instructions

- Preparation: Thoroughly clean the socket's inner surface to eliminate mud, dirt, grease, and gravel. Similarly, ensure the elastomeric sealing ring is spotless.
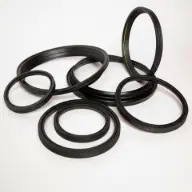
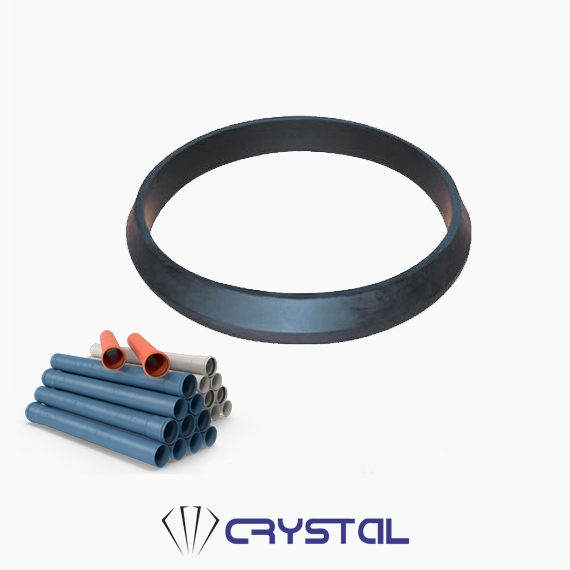
- Ring Placement: Convert the sealing ring into a heart shape by gently pinching a section inward. Insert it into the socket, releasing it carefully to allow it to seat properly in the groove.
- Pipe Preparation: Factory-supplied pipes come with a 15° chamfer. Mark the desired insertion depth on the spigot end of the pipe. Clean this marked area and apply a lubricant to ease the insertion process.
- Cutting the Pipe: If cutting is necessary, ensure the cut is perpendicular to the pipe's axis. The cut end should then be chamfered accurately.
- Alignment: Properly align the socket and spigot in both horizontal and vertical orientations. Ensure the lubricated surface is free of sand or dirt before proceeding.
- Insertion: Insert the spigot into the socket until it aligns with the previously marked depth. Avoid pushing it beyond this mark. This process should be performed manually. If additional leverage is needed, a steel crowbar may be used, with a wooden block placed to protect the pipe and ensure correct insertion angle.
- For Large Diameter Pipes: If the crowbar does not provide sufficient leverage for larger pipes, consider employing a jointing jack to facilitate the joining process.
Inquiry and more information
Kindly complete the form, and our team will promptly contact you within 24 hours to offer professional assistance.
